Enjoy 5% OFF + FREE shipping on orders $49+! Use Code: 202512AK5

RayNeo Air 4 Pro Prescription Lens Installation Guide
Last updated: April 1, 2026
Correctly installing your custom prescription lenses is a crucial step to achieving a large 201-inch virtual display experience. This guide walks you through attaching the prescription insert safely, fine-tuning your fit, and cleaning the optical surfaces with a conservative, low-risk routine for daily use.
This guide is based on RayNeo support documentation, product specifications, and the installation video embedded above.
Before You Start
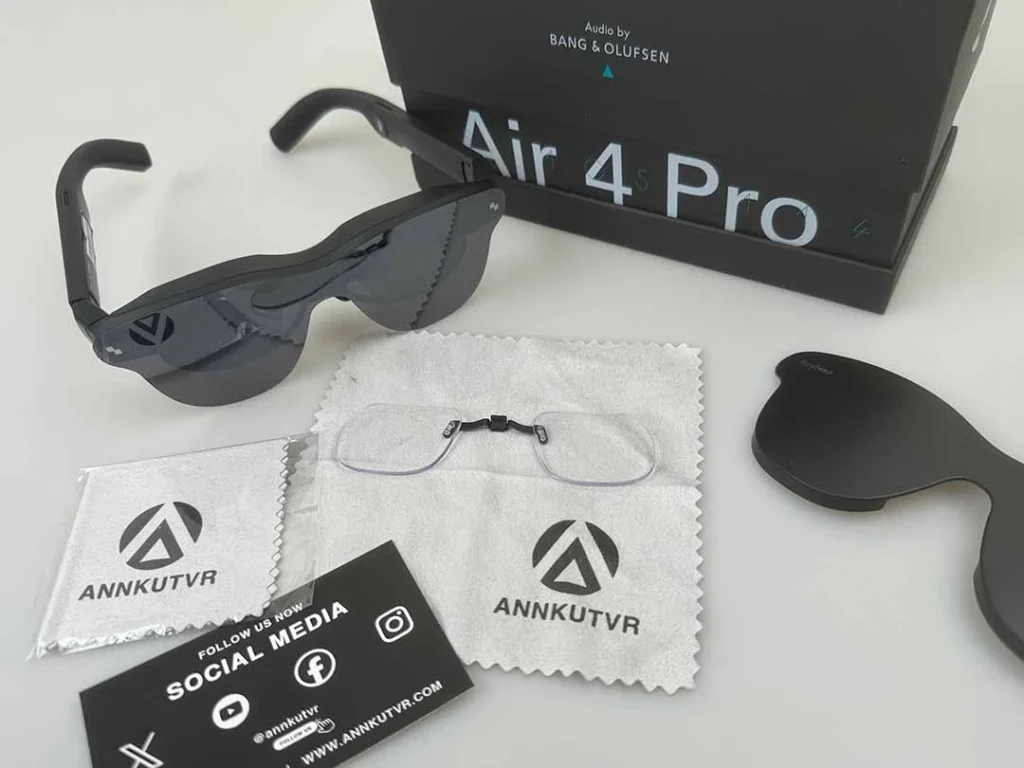
Make sure your workspace is ready before you begin. Your setup should include the RayNeo Air 4 Pro AR glasses, the custom prescription lens insert frame, and a clean microfiber cloth.
Check What’s Included
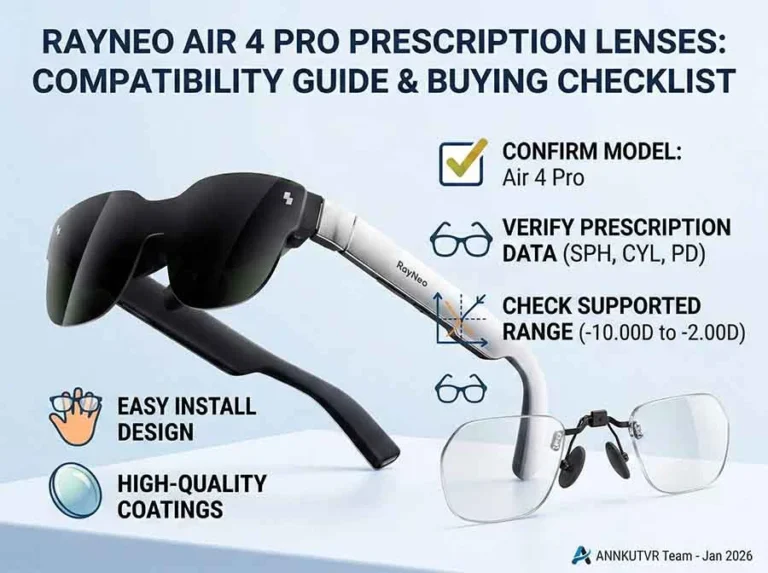
Before installation, verify that your insert matches the RayNeo Air 4 Pro. Prescription support can vary by optical partner and prescription type, so confirm your order details before installation.
Before installing, make sure you have the correct insert for your RayNeo model. If you are comparing Air 4 Pro with Air 2s, Air 3s, or Air 3s Pro options, review our RayNeo prescription lenses guide first.
Confirm Your Prescription Order
Understand the RayNeo Fit System First
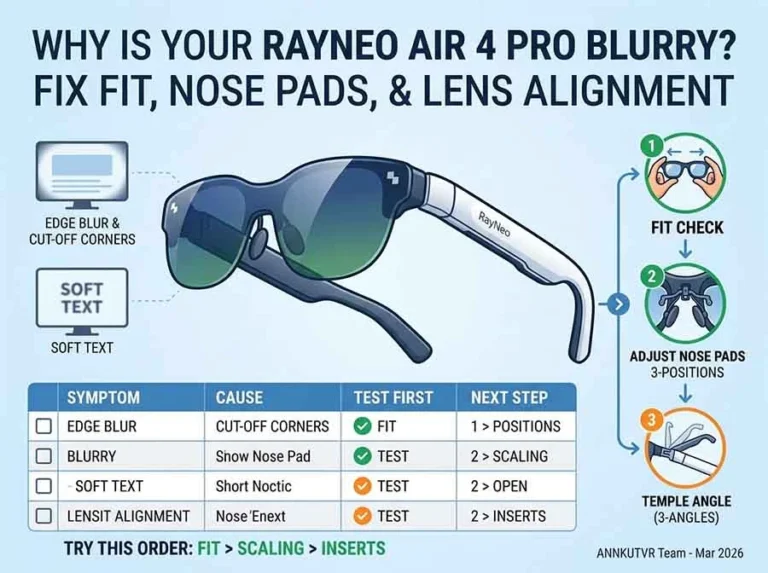
Before installing the insert, it helps to understand the physical adjustment system. In practice, many field-of-view issues are solved through fit adjustment rather than lens replacement.
3-Position Nose Pad Adjustment Controls Distance
RayNeo’s support guidance says its AR glasses support three different nose pad positions. Adjusting the nose pad changes how the glasses sit on your nose and affects the distance between the displays and your eyes.
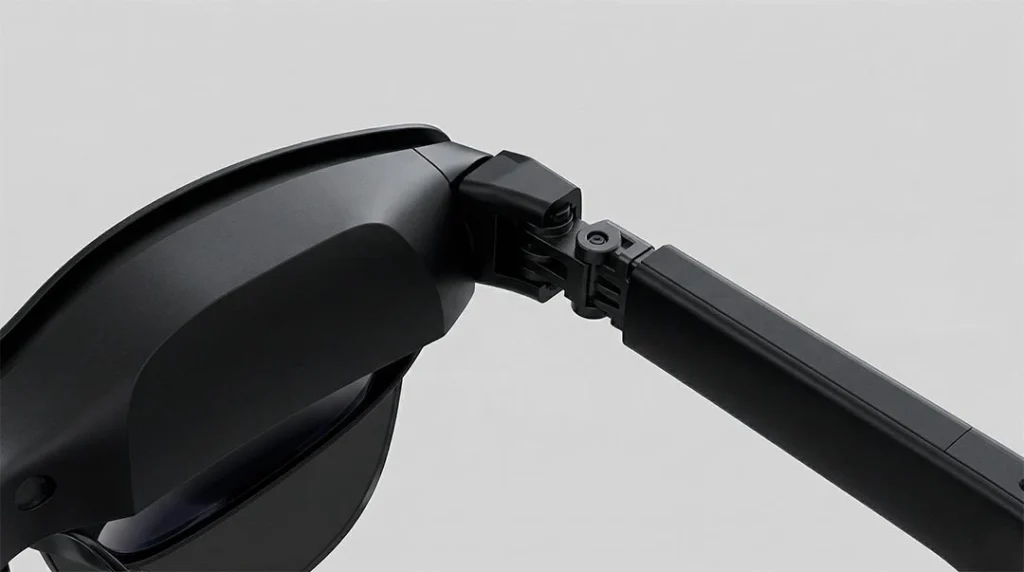
3-Angle Temple Adjustment Controls Height and Tilt
RayNeo’s support guidance also says its glasses support three different temple angles. Adjusting the temple hinges helps change the vertical position and tilt of the virtual screen so the image sits more naturally in your line of sight.
Prepare a Safe Installation Setup
Work on a Clean, Soft Surface
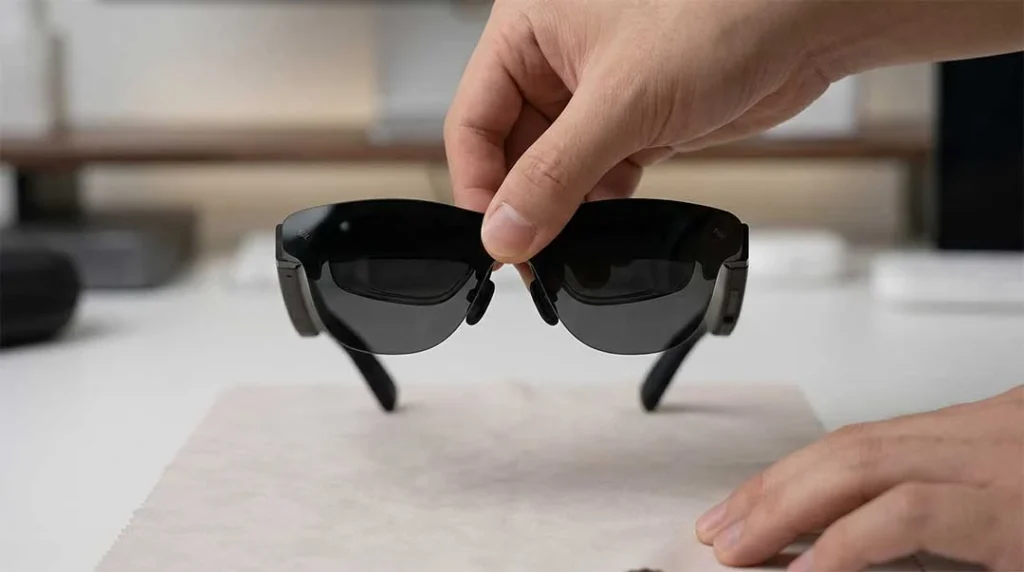
Perform the installation on a clean desk lined with a soft cloth. This lowers the risk of scratching the frame or optical surfaces if the glasses or insert are set down too hard or accidentally dropped.
Hold the Frame Structure for Control
When adjusting the glasses or installing the insert, hold the RayNeo Air 4 Pro by the rigid bridge area at the top center of the frame. To reduce the risk of damage, avoid pressing directly on the inner optical surfaces or squeezing the nose pad clip area.
How to Install the Prescription Lens Insert
Step 1: Locate the Mounting Area
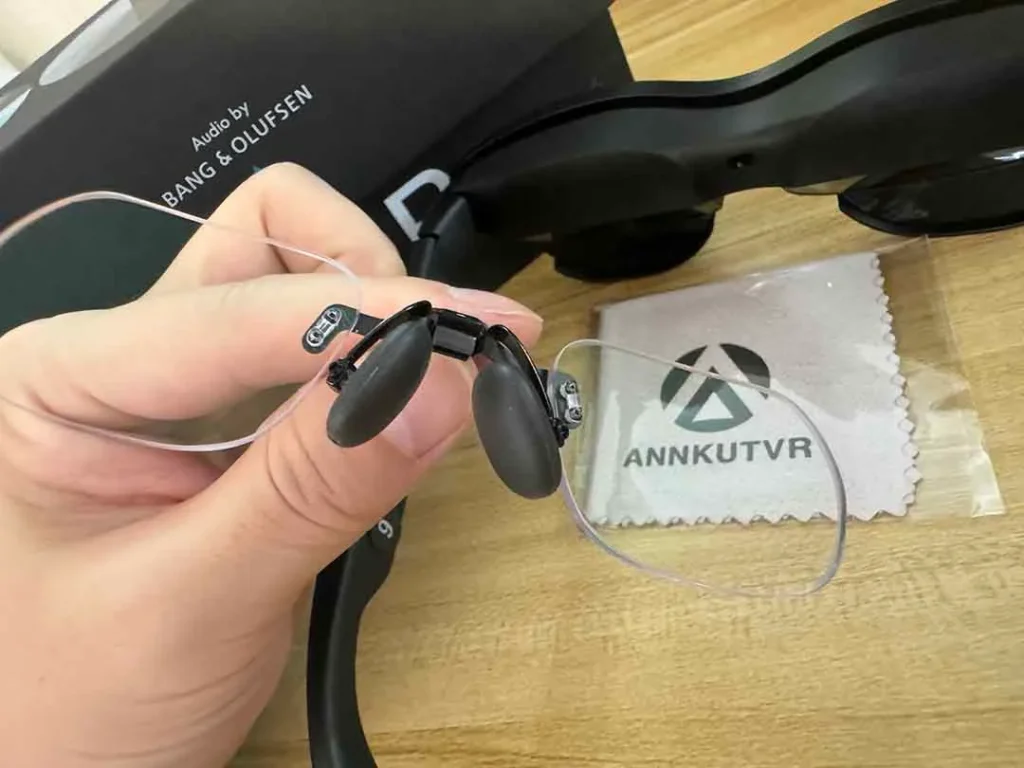
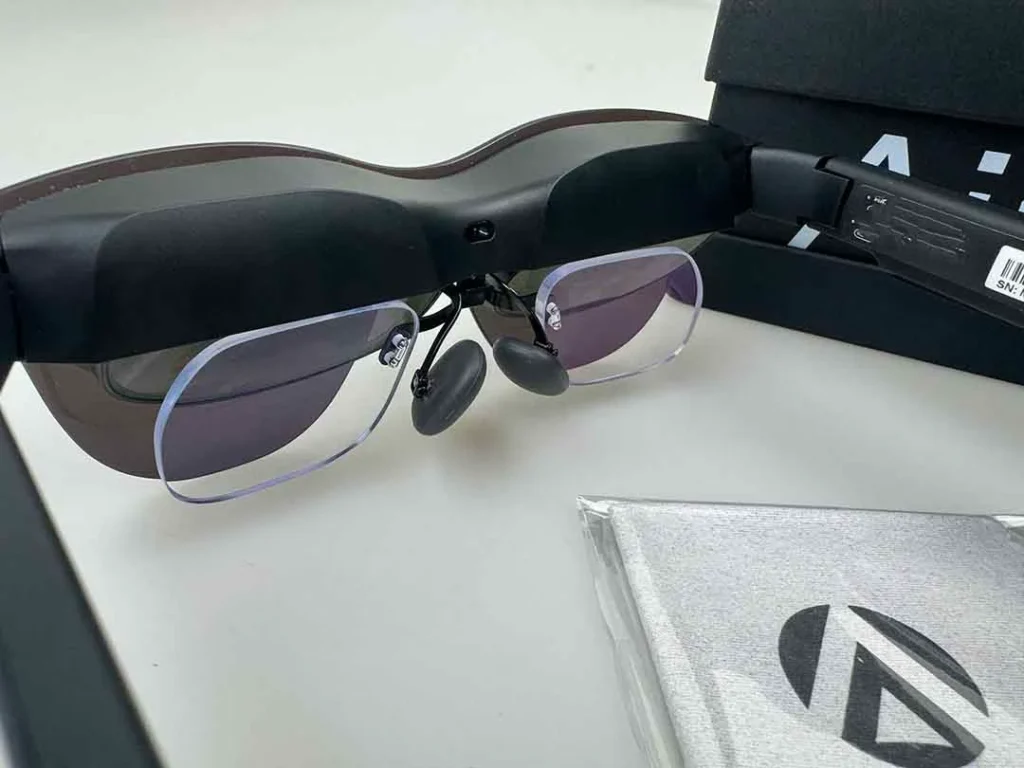
The prescription lens insert frame is designed to attach to the nose pad assembly between the two displays. RayNeo’s installation page describes this as attaching the prescription lenses frame to the nose pad.
Step 2: Align the Insert
Hold the prescription insert by its outer edges. Match its curve to the inner contour of the glasses, then bring the center of the insert toward the nose pad bracket.
Step 3: Seat the Insert Gently
Slide the prescription insert onto the nose pad bracket and let it settle into place without forcing it. The insert should seat firmly with light, controlled pressure.
Step 4: Check Symmetry and Clearance
Inspect the glasses from the top and sides. Confirm that the insert is centered, seated evenly, and does not appear to contact the inner display surfaces during normal use.
Adjust Fit After Installation
Action 1: Adjust Nose Pad Depth First
If you put the glasses on and notice that the screen edges are cut off, start with the nose pads. Try widening the nose pads or moving them to a different click position to find a better viewing distance.
Action 2: Fine-Tune Temple Angle
If the distance feels right but the screen still appears too high or too low, adjust the temple angle. Tilt the temples up or down until the full screen sits more naturally in the center of your vision.
Troubleshooting After Installation
Screen Edges Still Blurry or Cut Off
AR glasses project images at a fixed focal distance, so if your eyes sit too far from the displays, the edges of the screen can appear blurry or partially cropped. In many cases, moving the nose pads to a shallower position helps bring the screens closer and improves edge clarity.
Experiencing Ghosting or Severe Off-Center Vision
If you have tried all nose pad and temple combinations and still see double vision or strong off-center alignment, the issue may be related to your submitted Pupillary Distance (PD) or astigmatism axis. Recheck your prescription details and contact the vendor that supplied your prescription insert.
Cleaning and Maintenance
To protect the optical surfaces and coatings, use a conservative “dry first, liquid last” cleaning routine.
Dry Cleaning for Daily Use
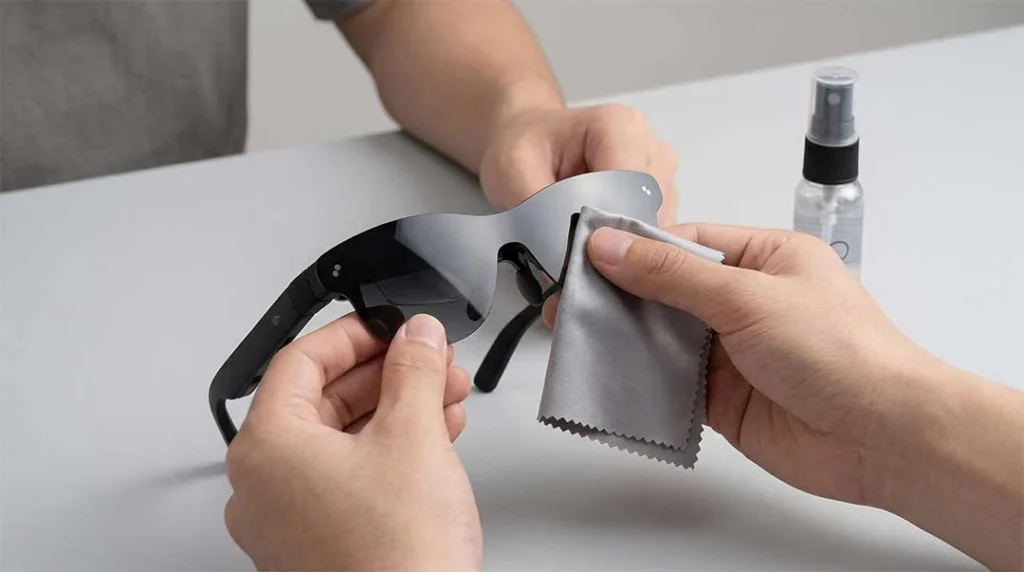
Start with a clean, dry microfiber cloth. Avoid paper products, which can leave microscopic scratches on coated optical surfaces. Apple recommends using a clean, dry microfiber cloth and avoiding paper products for Vision Pro cleaning, while ZEISS states its lens cleaning products are safe for coated prescription lenses.
Handling Stubborn Smudges
If a dry cloth is not enough, use a small amount of an ammonia-free, optics-safe cleaner on the cloth. Do not spray the device directly. For more conservative cleaning references, see Apple’s cleaning instructions for Vision Pro and ZEISS guidance for lens and screen cleaning
Maintenance Mistakes to Avoid
Do not use paper products or household cleaners on the optical surfaces. Avoid direct spraying onto the device, and do not use harsh chemicals that may damage protective coatings over time. Air 4 Pro is listed as splash-resistant, but that is not the same as submersion safety, so do not rinse the device under running water or immerse it in liquid.
Keep the Cloth Clean
Wash your microfiber cloth regularly. If it drops on a dirty surface, do not use it on the glasses again until it has been thoroughly cleaned or replaced.
FAQ
Can I wear regular glasses under the RayNeo Air 4 Pro?
It is not recommended. Wearing regular glasses underneath the Air 4 Pro pushes the device farther from your eyes, which can reduce the visible screen area. It also increases the chance that two hard lens surfaces may touch and scratch.
Why does the screen look slightly blurry after installing the lenses?
In many cases, this is a fit issue rather than a lens defect. Start by adjusting the nose pads for distance, then use the temple angle to improve vertical alignment.
Should I adjust the nose pads or the temples first?
Start with the nose pads. Once the viewing distance feels right and the bridge fit is comfortable, use the temples to fine-tune height and tilt.
Can I use a prescription insert from an older model?
It is safer to use inserts specifically listed for RayNeo Air 4 Pro. That helps reduce the risk of fit or alignment issues.
What is the safest cleaning method?
Start with a clean, dry microfiber cloth. If needed, apply a small amount of an ammonia-free, optics-safe cleaner to the cloth, then wipe gently. Do not spray the device directly.
Related Links