Enjoy 5% OFF + FREE shipping on orders $49+! Use Code: 202512AK5

Why Does RayNeo Air 4 Pro Look Blurry? Fix Fit, Nose Pads, and Lens Alignment
- ANNKUTVR Team
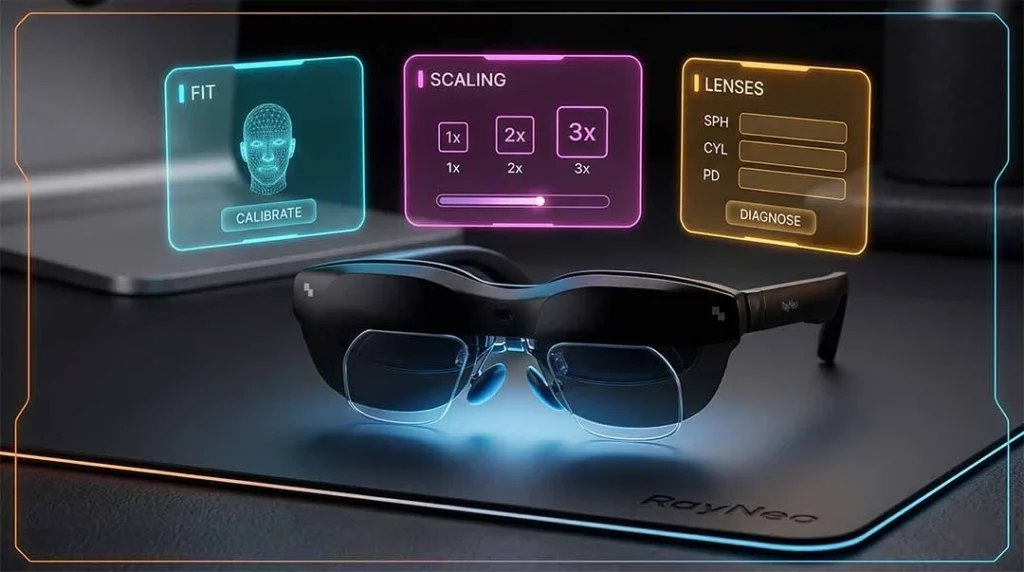
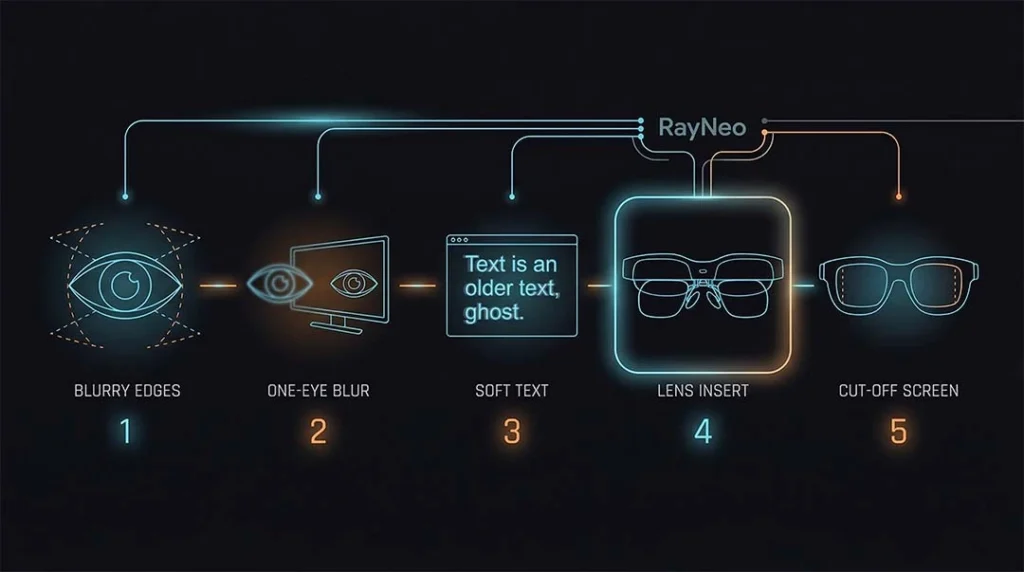
Most RayNeo Air 4 Pro blur complaints are not caused by a failed display panel. RayNeo’s own support flow first points users to fit adjustment: re-seat the glasses, try the 3-position nose pads, and test the 3-angle temples. If the issue is mostly soft text on a Mac desktop, test display scaling next. If the image only becomes blurry after installing prescription inserts, check the insert fit or prescription data last.
Jump to Your Symptom
Edge blur or cut-off corners: The center may look sharp, but the far left or right side looks soft, smeared, or partly cut off.
Only one eye looks blurry: One side stays less clear even after a basic fit reset.
Mac text looks soft: Movies may look fine, but menus, browser text, or code windows look fuzzy.
The image gets worse only after adding prescription inserts: Without inserts it is acceptable; with inserts it becomes worse.
You can’t see the whole screen: The top, bottom, or corners are missing unless you keep shifting the frame.
Start Here: Do the 2-Minute Fit Check First
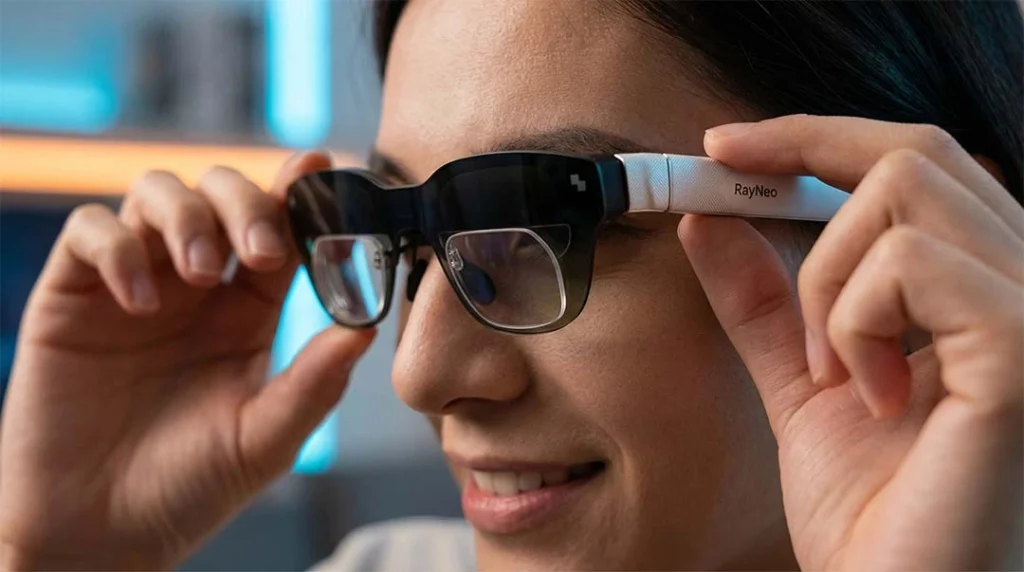
RayNeo’s official support pages tell users who can’t see the whole screen, or who see blurry edges, to adjust the nose pads and temple angle first. The Air 4 Pro product page also emphasizes its light 76 g design and nine-level flexible adjustment system, which means small fit changes can make a noticeable difference in what part of the virtual screen falls into your clearest viewing zone.
Clean the lenses and inserts first
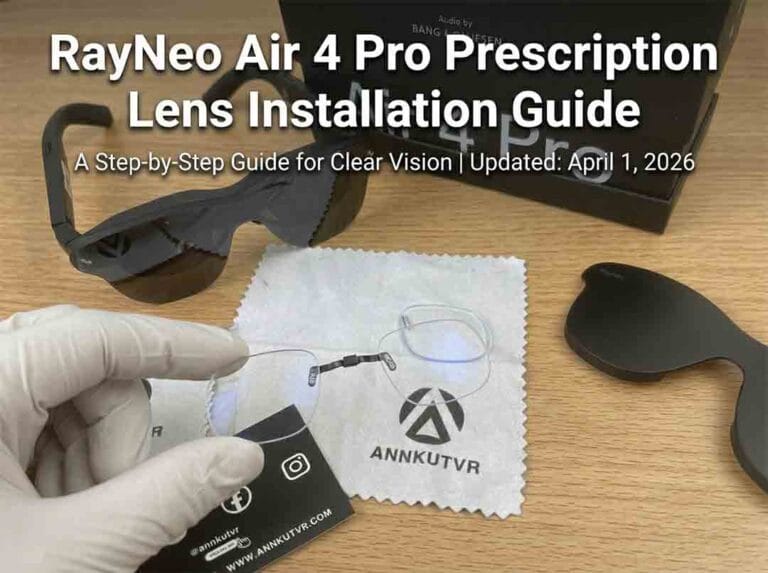
Wipe the front lenses and any prescription inserts with a clean microfiber cloth. Smudges are the fastest problem to eliminate.
Re-seat the glasses before changing settings
Take the glasses off, put them back on, and see whether the blur changes when the frame sits slightly higher or lower.
Watch what changes
If the blur changes when the glasses move on your face, the issue is probably fit-related, not a defective display.
How to Adjust the 3-Position Nose Pads
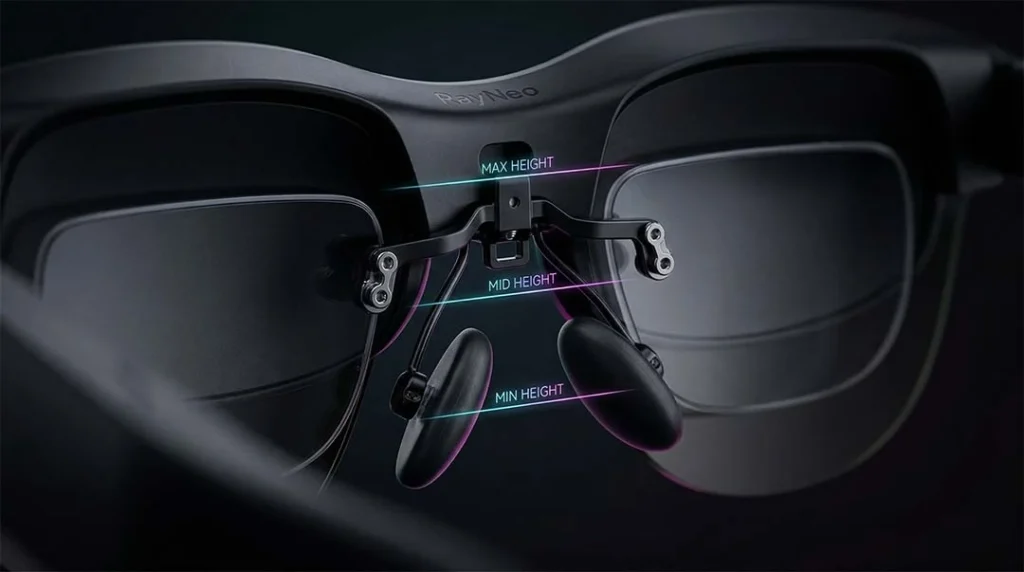
RayNeo’s support pages say its AR/XR glasses support 3 different nose pad positions and instruct users to push in or pull out the nose pad clip to find the best position on the nose. In practice, this changes how high the frame sits and how close the optical system feels to your eyes.
What nose pad position changes
A different nose pad position can raise or lower the apparent screen and can change whether the top or bottom edge is easier to see.
How to test it
Try each position one by one. After every change, look at the top edge, bottom edge, and far corners before changing anything else.
What the result usually means
If a nose pad change improves edge visibility, keep working on fit before blaming the display or your prescription inserts.
How to Adjust the 3-Angle Temples
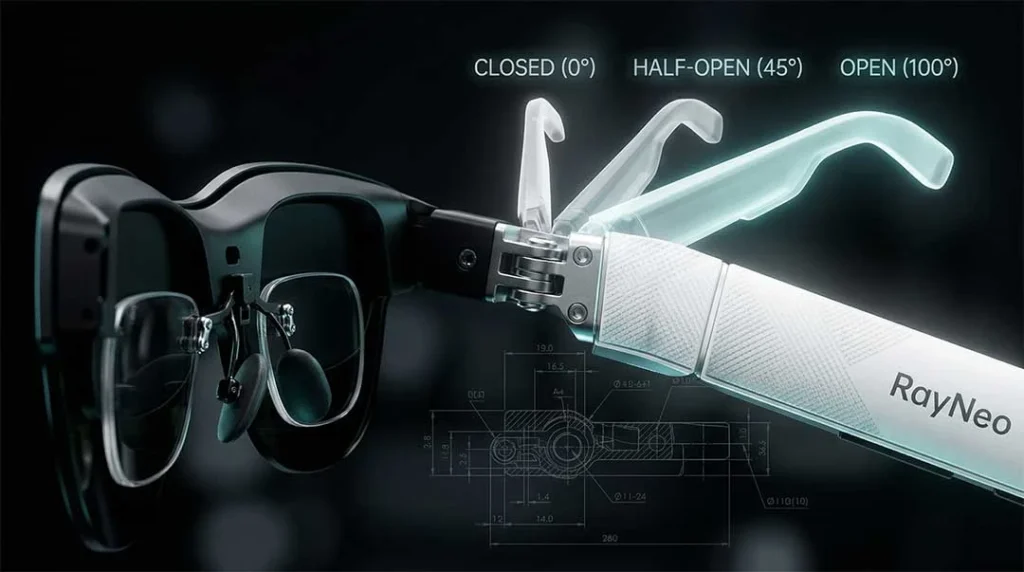
RayNeo’s support pages also say its XR glasses support 3 different temple angles. The goal is not to “bend the glasses” randomly. The goal is to change the angle at which the display sits relative to your eyes.
Why temple angle matters
A small tilt change can help bring the top or bottom of the image back into a more comfortable viewing zone.
How to test temple angle
Change only one step at a time, then recheck the full screen. Avoid changing nose pads and temples at the same moment or you will not know which step helped.
When to stop
Stop when the center and edges are balanced enough for your real use case. You do not need a “perfect” lab result if the image is now usable for movies, work, or gaming.
What the Official IPD Range Means in Practice
Do not over-diagnose IPD
If changing fit clearly changes the blur, keep working on fit first.
Why some users notice edge blur more than others
Face shape, nose height, ear position, and personal tolerance all affect how easy it is to land in the best viewing position.
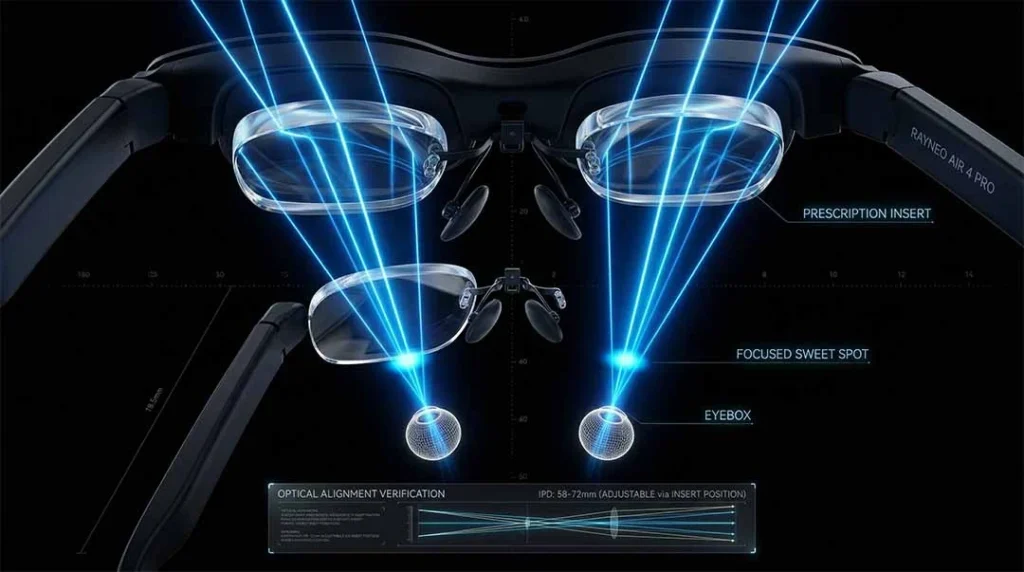
Mac Text Blur: Use Resolution Scaling Only as an Optional Test
DeskPad is not an official RayNeo fix, but its GitHub documentation makes clear that it creates a virtual display on macOS and that the resolution can be changed in system settings. Apple’s own Mac help pages also show that connected displays can be adjusted through System Settings → Displays. That makes DeskPad a reasonable test for desktop UI blur, not a guaranteed hardware solution.
When scaling is worth testing
If video looks fine but code, menus, or browser text look soft, test scaling before assuming the glasses are defective.
Mac test path
Open System Settings → Displays, select the relevant display, and try a different resolution. If you use DeskPad, lower the effective UI density and retest text clarity.
What this test can and cannot tell you
If text improves, the issue may be partly related to UI density or rendering. If nothing changes, go back to fit and insert checks.
If you are not sure whether your current insert matches your exact RayNeo model, check our RayNeo prescription lenses compatibility guide before troubleshooting further. Choosing the wrong model group can make fit and alignment problems harder to solve.
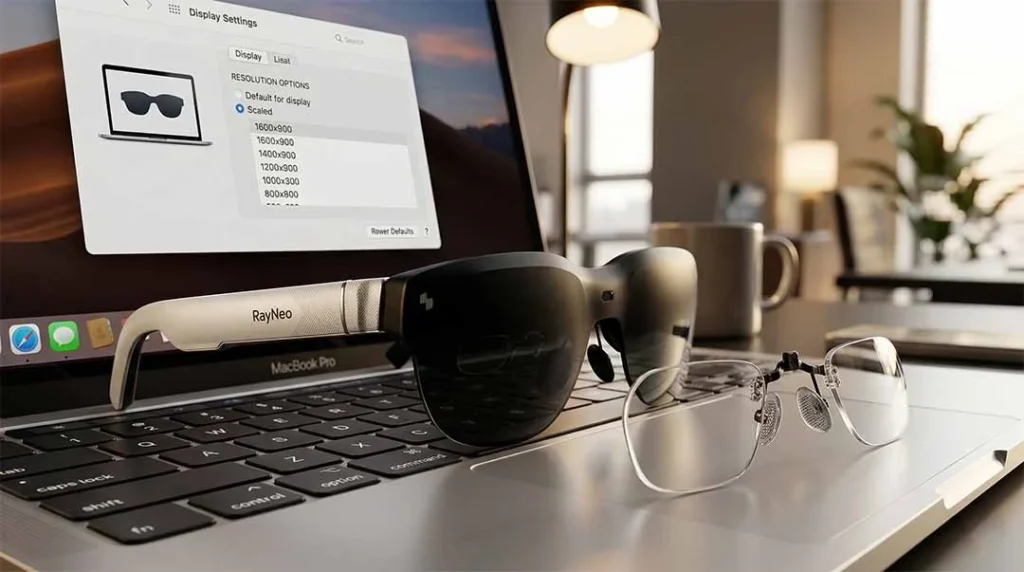
Prescription Insert Diagnosis Matrix
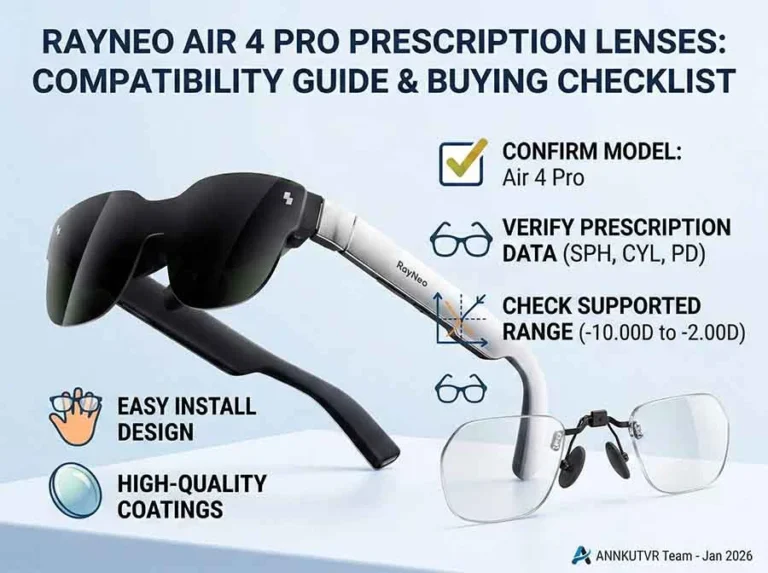
RayNeo’s Air 4 Pro product page says the glasses support custom prescription lenses and include a magnetic frame for them. RayNeo’s prescription-lens purchase page also states that users with myopia 0 to -10.00D and astigmatism 0 to -2.00D can order through official optical partners, so the safest wording is to verify the range with the seller you use rather than assume every order channel offers the same options.
| Symptom | Likely cause to test first | Next step |
|---|---|---|
| Blur appears only after inserts are installed | Insert fit, seating, or prescription mismatch | Remove the inserts and retest |
| One eye is much blurrier than the other | One insert may be seated poorly or the prescription may be off | Reinstall the insert and compare both eyes again |
| Center looks fine but edges get worse with inserts | Optical alignment may be less forgiving with the insert in place | Re-seat the insert, then recheck fit |
| You reused inserts from another model | Physical fit may not equal perfect optical alignment | Confirm the inserts were made or approved for this setup |
| Everything is blurry with or without inserts | Fit or display scaling may be the bigger issue | Go back to fit and host-device checks first |
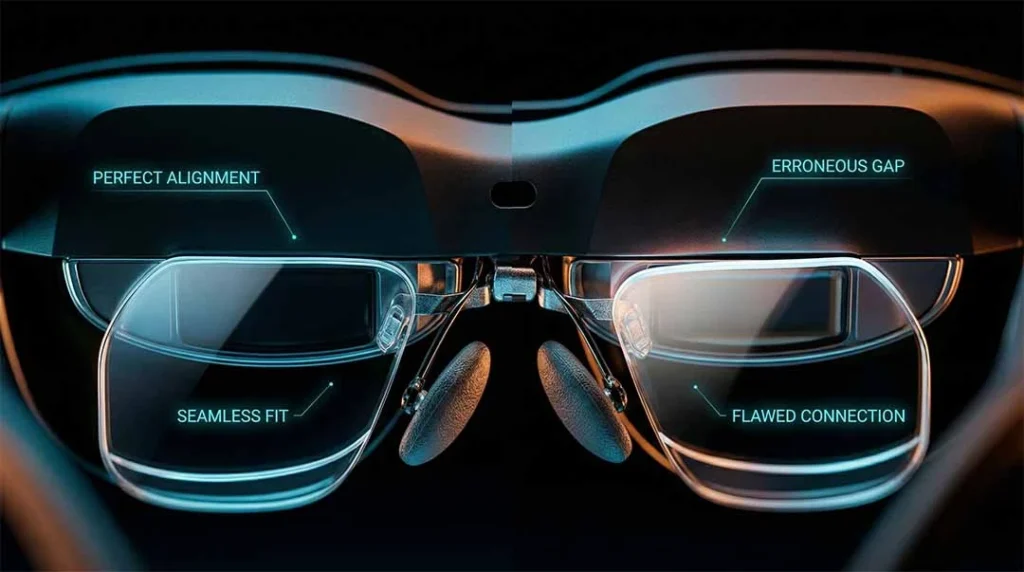
When to Suspect the Inserts Instead of the Glasses
Common clues
- The image gets worse only after you add inserts
- One eye is consistently worse
- Reinstalling the insert changes the result
- Video is okay, but text becomes much harder to read
Best next action
Retest without inserts, then reinstall carefully and compare again before opening a support ticket.
Frequently Asked Questions
Is slight edge blur normal on AR glasses?
A small difference between center clarity and extreme edge clarity can happen, but official support first recommends adjusting nose pads and temples before treating it as a defect.
Does blurry text always mean the display is defective?
No. If movies look fine but desktop text looks soft, test resolution and scaling first, especially on macOS.
Can I wear regular glasses under the Air 4 Pro?
This article should recommend dedicated inserts instead. RayNeo markets the Air 4 Pro as prescription-ready with a magnetic frame for custom lenses, which is the cleaner path for fit and clarity.
What prescription range should I trust?
Check the exact seller or partner page you use. RayNeo’s Air 4 Pro product page and RayNeo’s prescription-purchase page describe lens support differently, so verify the ordering channel before you buy.
When should I contact support?
When fit changes, scaling tests, and insert retests do not change the result at all, or when one side remains clearly abnormal. RayNeo’s support FAQ also says abnormal screen behavior should be escalated.
Conclusion
Start with fit. Then test host-device scaling. Then isolate the prescription inserts. That order matches the most defensible support logic for this product family and avoids turning a normal setup issue into an unnecessary hardware diagnosis.