Enjoy 5% OFF + FREE shipping on orders $49+! Use Code: 202512AK5

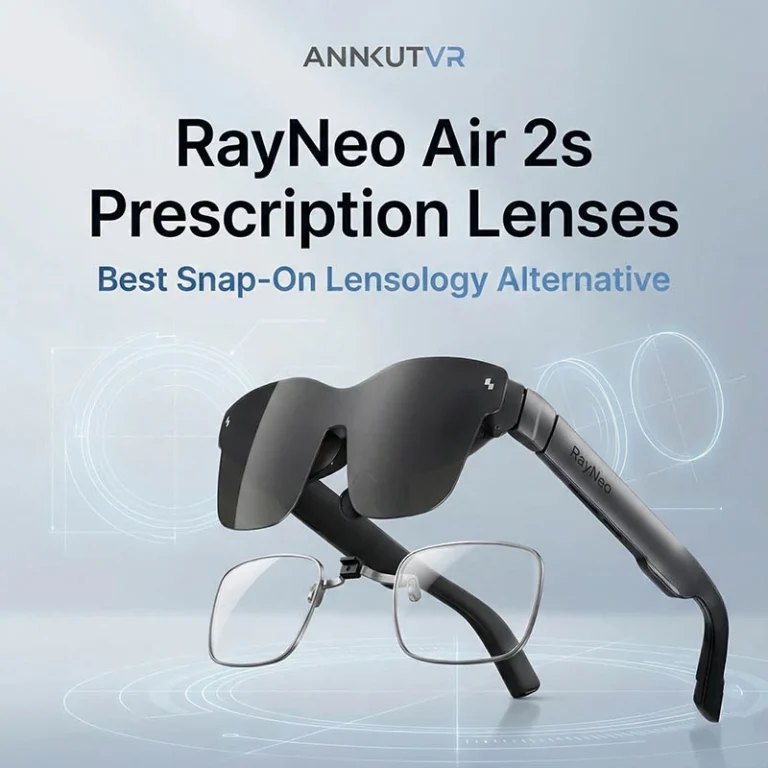
RayNeo Air 2s & 3s Pro Guide: The ANNKUTVR "Snap-on" Solution
Model check before ordering: This guide focuses on the Air 2s/3s series. If you own RayNeo Air 4 Pro, please check out our dedicated RayNeo Air 4 Pro Prescription Lenses (Frame Insert Included) product page. For model-by-model buying help, see our RayNeo prescription lenses guide. Follow the installation instructions for the supplied insert and selected model.
(Introduction) The RayNeo Air 2s has redefined portable cinema with its stunning micro-OLED screen and improved “Cloud Comfort” fit. With the launch of the RayNeo Air 3s and 3s Pro, the experience has only gotten better.
But for glasses wearers, the struggle is real.
Jamming your frame glasses under these ultra-light AR glasses defeats the purpose. It hurts your nose, risks scratching the projection lens, and frankly, ruins the futuristic look.
That’s where ANNKUTVR comes in. Select the prescription insert expressly listed for your exact Air 2s or 3s model and check its fit and installation requirements.
Why Standard Glasses Fail with RayNeo Air 2s
While the RayNeo Air 2s official page boasts about its lightweight design, adding your own heavy frames destroys that balance.
Nose Bridge Agony: Two pairs of glasses mean double the weight on your nose.
Blurry Edges: Glasses push the AR display further from your eyes, reducing the Field of View (FOV).
Scratch Risk: Just like we warned in our PSVR2 Safety Guide, metal frames rubbing against soft XR lenses can cause permanent damage.
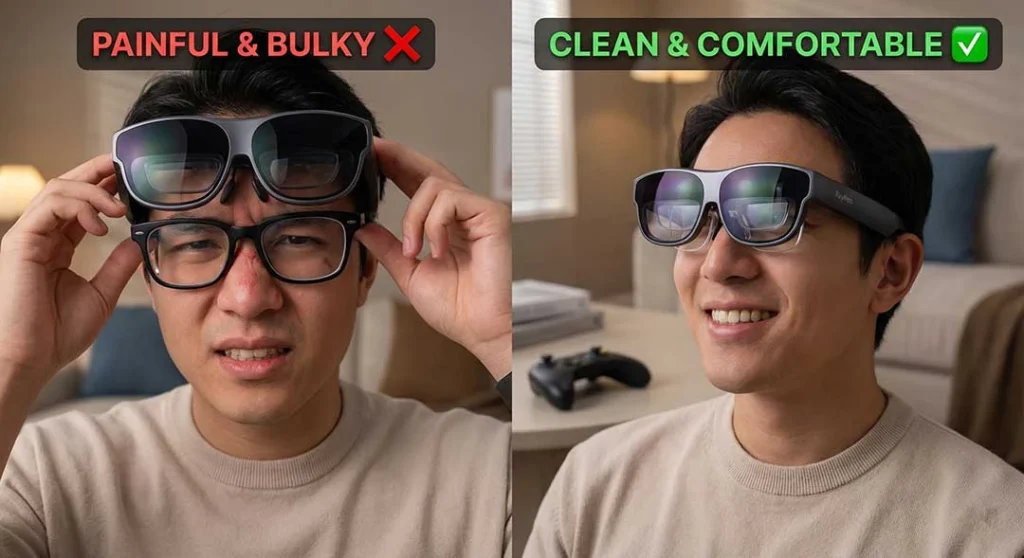
The ANNKUTVR Advantage: "Case-Friendly" Design
Unlike generic adapters, ANNKUTVR prescription lenses are designed with one goal: Portability.
1. Check the Model-Specific Insert
Choose the insert explicitly listed for your RayNeo Air 2s, Air 3s or Air 3s Pro. Check the supplied frame and instructions before installation; do not infer a shared mounting mechanism from the series name alone.
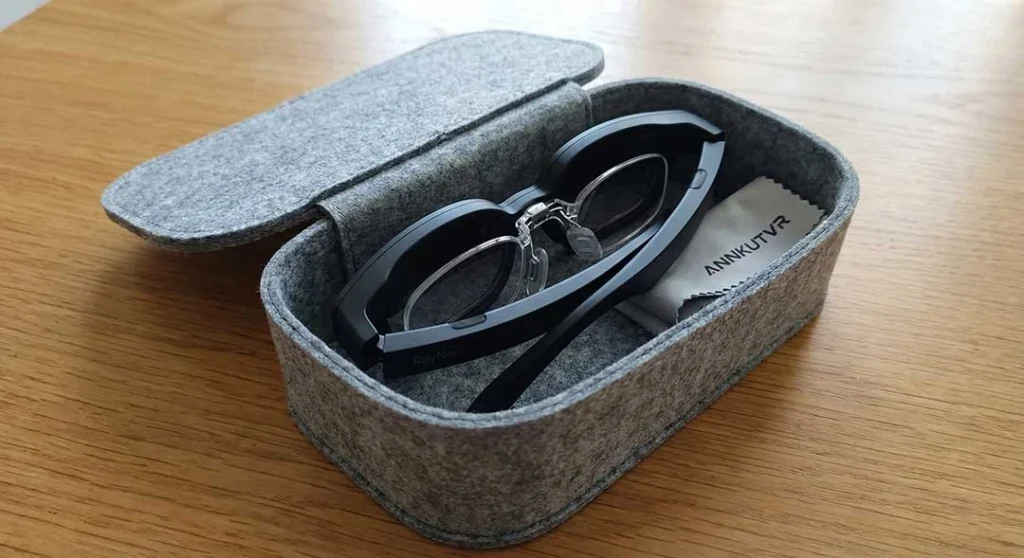
2. Check Carrying-Case Clearance
This is why users choose ANNKUTVR. Top tech media like TechRadar praise the Air 2s for its “compact size and lightweight design” that fits anywhere. We respect that.
Before storing the glasses, check that the temple arms and case close without pressure on the insert or display optics. Remove the insert if the instructions require it or if there is contact or resistance.
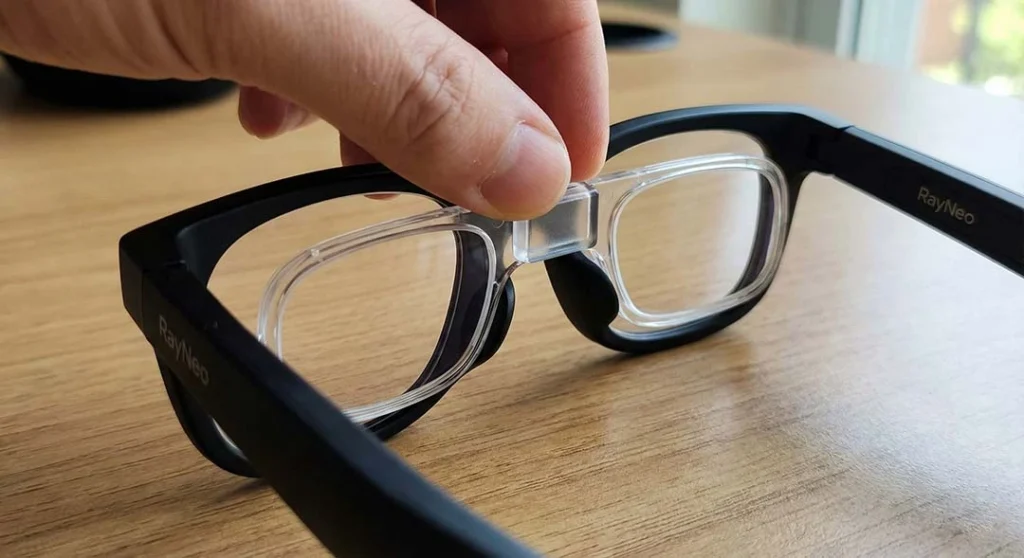
Installation Guide
Before installing your ANNKUTVR custom inserts, check the product’s listed models and installation instructions.
- Confirm: Match the exact glasses model to the insert.
- Follow: Use the supplied model-specific installation instructions and hold the insert by its frame.
- Check: Confirm seating and clearance. Stop if the insert does not fit; do not force it.
Conclusion
Don’t let near-sightedness hold back your AR experience. Upgrade your RayNeo Air 2s or 3s Pro with ANNKUTVR for a crystal-clear, comfortable, and truly portable experience.
Want to learn more? If you are still comparing different options or want additional model-selection and fit checks, read our in-depth review: RayNeo Air 2s Prescription Lenses: Best Snap-On Lensology Alternative.
Ready to upgrade your view?