Enjoy 5% OFF + FREE shipping on orders $49+! Use Code: 202512AK5

How to clean meta quest 3 lenses
If you’re an avid user of the Meta Quest 3, you know that keeping the lenses clean is crucial for the best virtual reality experience. Dirty lenses can cause blurriness and strain on your eyes, diminishing the immersive quality that VR is known for. In this guide, we will walk you through the best practices for cleaning your Meta Quest 3 lenses safely and effectively.
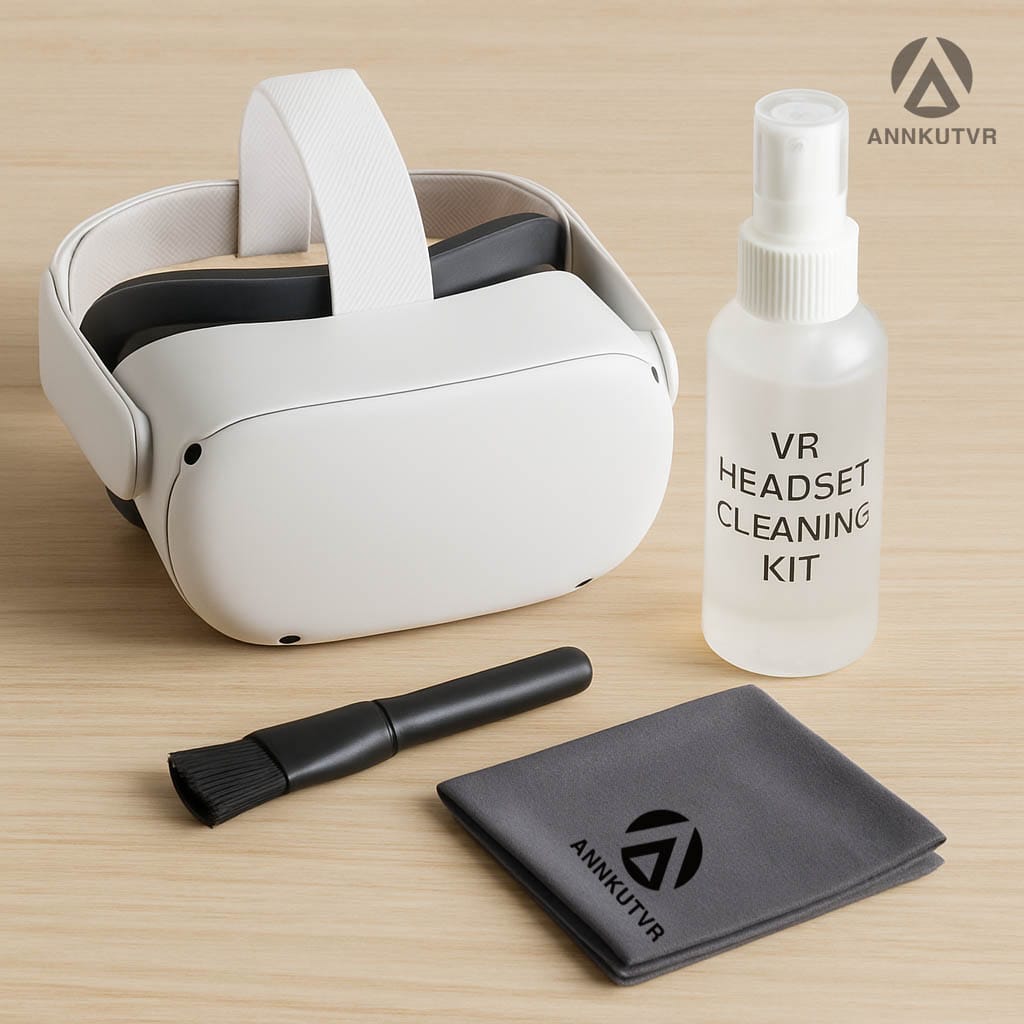
Why Cleanliness Matters
VR headsets like the Meta Quest 3 rely heavily on their lenses to provide crisp and clear visuals. Even the slightest smudge or dust particle can interfere with this clarity. Regular cleaning not only ensures optimal performance but also extends the life of your device.
Effects of Dirty Lenses
Dirty lenses can lead to a host of issues, such as:
- Blurred vision
- Eye strain
- Reduced image quality
- Less immersive experience
By adopting a regular cleaning routine, you can avoid these problems and enjoy your VR sessions to the fullest. However, if your lenses are permanently scratched, no amount of cleaning will fix them. Improper cleaning is one cause of scratches, but a much more common danger is wearing frame glasses inside the headset.
Tools You Will Need
Before you begin cleaning your Meta Quest 3 lenses, gather the following tools:
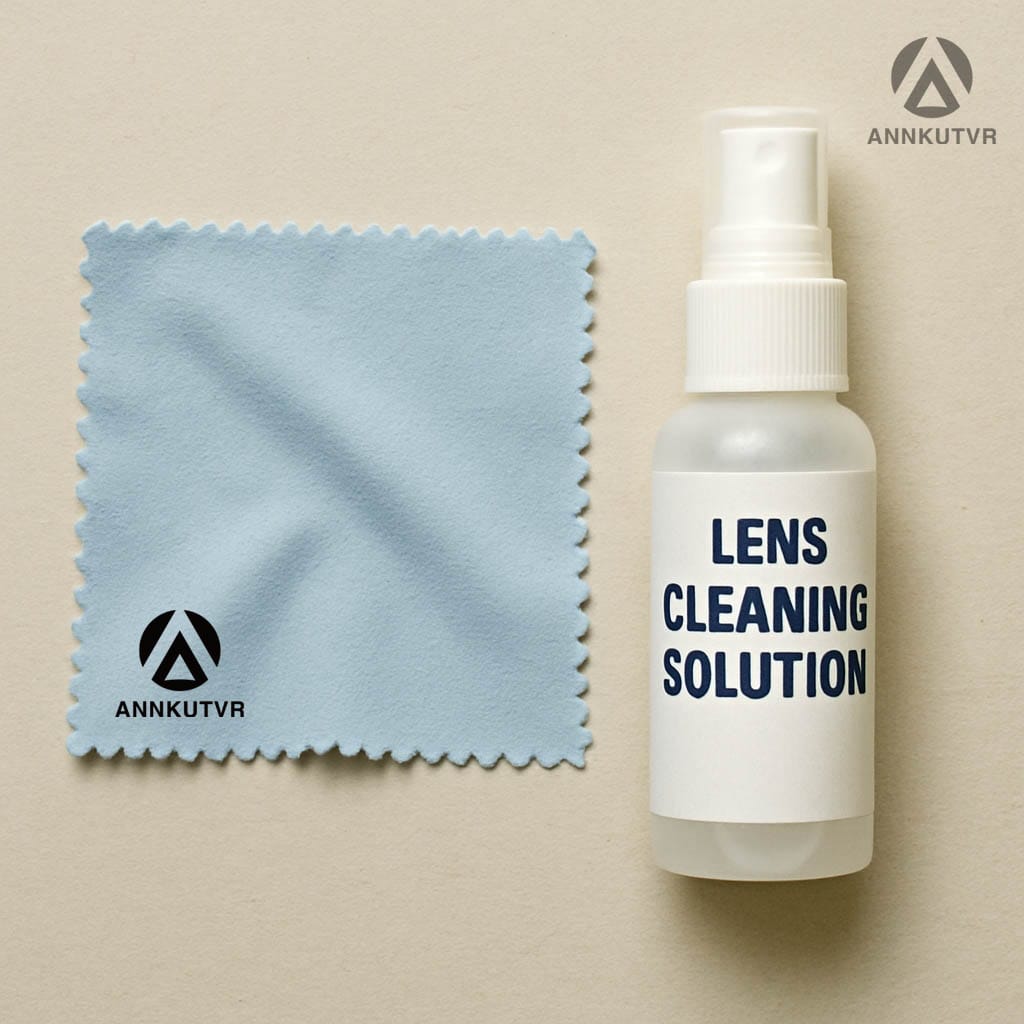
- Microfiber cloth
- Lens cleaning solution (optional)
- Compressed air canister (optional)
- Soft brush
Microfiber Cloth
A microfiber cloth is the safest option for cleaning lenses as it is gentle and effective at trapping dust and oils without scratching the surface.
Lens Cleaning Solution
If you encounter stubborn smudges, a lens cleaning solution can help. Ensure it’s designed for use on sensitive optics and is alcohol-free.
Compressed Air Canister
While optional, a compressed air canister is useful for blowing away loose dust and debris before wiping with the cloth.
Soft Brush
A soft brush can help dislodge particles from the crevices of the headset, ensuring a thorough clean.
Step-by-Step Cleaning Process
Now, let’s dive into the process of cleaning your Meta Quest 3 lenses.
Step 1: Power Off the Device
Before you start cleaning, make sure your Meta Quest 3 is powered off. This prevents any accidental inputs and allows you to handle the device without interference.
Step 2: Inspect the Lenses
Examine the lenses under good lighting to identify dust, smudges, or other debris. This will help you focus on areas that require more attention.
Step 3: Use Compressed Air
If you have a compressed air canister, use it to gently blow away any loose dust or particles. Hold the canister upright and maintain a safe distance to avoid moisture build-up from the air.
Step 4: Wipe with a Microfiber Cloth
Using a clean microfiber cloth, gently wipe the lenses in a circular motion. Avoid applying too much pressure, as this can damage the lenses. Start from the center and move outwards, which helps to prevent streaks.
Step 5: Apply Lens Cleaning Solution
If smudges persist, lightly dampen a corner of the microfiber cloth with lens cleaning solution. Gently wipe the affected areas, then use the dry side of the cloth to remove any excess solution.
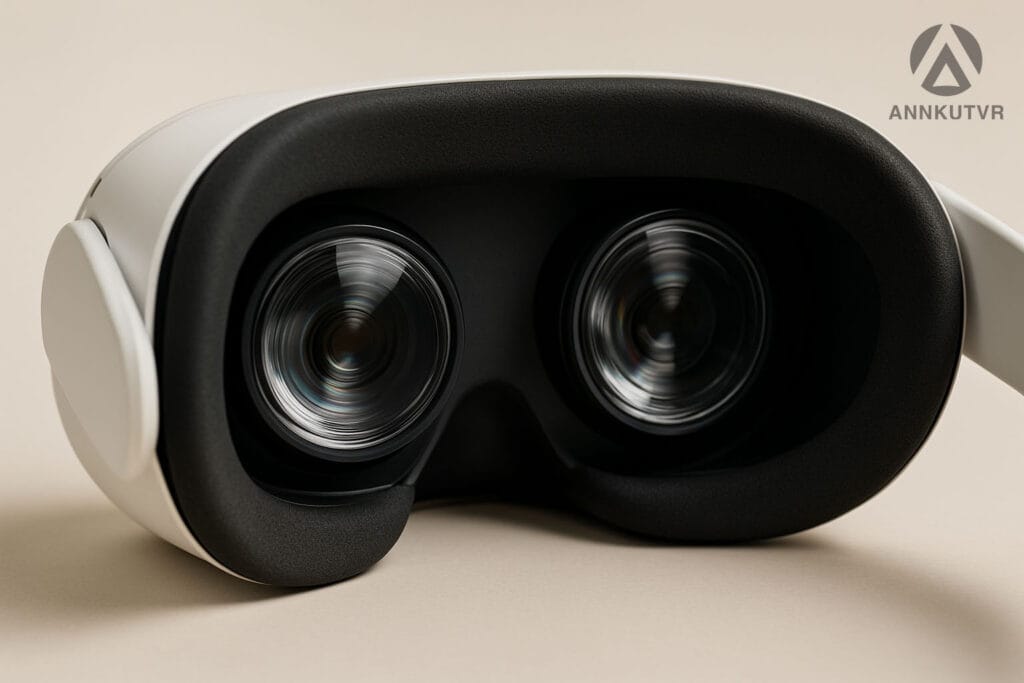
Step 6: Final Inspection
After cleaning, inspect the lenses again to ensure all spots and smudges have been removed. If necessary, repeat the process for any stubborn areas.
Additional Tips for Maintaining Lens Cleanliness
Keeping your Meta Quest 3 lenses clean doesn’t stop at regular cleaning. Here are some additional tips to maintain their cleanliness:
Store Properly
When not in use, store your headset in a case or cover it with a dust cover to protect the lenses from dust and dirt.
Avoid Touching the Lenses
Minimize direct contact with the lenses to reduce smudges and fingerprints. Handle the headset by its frame instead.
Regular Cleaning Routine
Establish a routine for cleaning your lenses, such as after every few uses or weekly, depending on how often you use your headset.
Avoid Harsh Chemicals
As strictly advised in Meta’s official headset care guidelines, never use harsh chemicals, alcohol, or abrasive materials on the lenses, as these can permanently damage the sensitive Pancake optical coatings.
Troubleshooting Common Issues
If you encounter issues even after cleaning, such as persistent blurriness, consider the following:
- Calibration: Ensure your headset is properly calibrated for your vision.
- Lens Adjustment: Check if the lenses are correctly aligned with your eyes.
- Software Updates: Verify that your device is running the latest software updates for optimal performance.
If your lenses are spotless but the image is still blurry, the issue might be your IPD settings or headset positioning. Check out our comprehensive guide on Why Is My Meta Quest 3 Blurry? 5 Common Causes & How to Fix Them.
FAQ
What is the best and safest way to clean Meta Quest 3 lenses?
The absolute best and safest method recommended by Meta is to use a dry, optical-grade microfiber cloth. Gently wipe the lenses in a continuous circular motion, starting from the center and moving outwards. This safely removes smudges, fingerprints, and dust without risking scratches to the delicate optical surface.
Can I use alcohol wipes or liquid screen cleaners on my VR lenses?
No, you should never use alcohol wipes, liquid chemical cleaners, or even water on your Meta Quest 3 lenses. The lenses feature a specialized protective coating. Harsh chemicals or excessive moisture can permanently strip away or cloud this coating, permanently ruining your visual clarity in VR.
What should I do if a dry microfiber cloth isn't removing stubborn smudges?
If a dry cloth isn’t enough to remove oily smudges or sweat, you can try breathing lightly on the lens to create a tiny amount of condensation before gently wiping it again. Always ensure your microfiber cloth is completely clean; a dirty cloth can trap hard dust particles that act like sandpaper. Never resort to using paper towels, tissues, or your shirt.
Is it safe to use compressed air to blow dust out of the headset?
It is highly recommended to avoid using canned compressed air on your Quest 3 lenses or internal components. The intense burst of pressure can force dust particles deeper into the headset’s crevices or even underneath the lens assembly. Instead, a manual silicone air blower (often used for camera lenses) is a much safer alternative for removing loose dust.
How can I prevent my Quest 3 lenses from getting dirty or scratched in the first place?
The most effective way to keep your built-in lenses pristine is to use a physical protective barrier. Installing high-quality custom VR prescription lenses (or even non-prescription clear plano lenses) directly over your Quest 3 displays takes the brunt of daily dust, sweat, and accidental scratches. It is much easier and cheaper to replace a protective lens accessory than a permanently damaged VR headset.
Conclusion
Regularly cleaning your Meta Quest 3 lenses is essential for maintaining the quality and longevity of your VR experience. By following this guide and adopting a consistent cleaning routine, you can enjoy clear and immersive visuals every time you use your headset. Keep your tools handy, and remember to handle your device with care to ensure it remains in top condition.
Happy VR exploring!
Read Next: Ready to stop worrying about cleaning and scratching your original lenses? Upgrade to our magnetic inserts today and check out our Ultimate Buyer’s Guide & VR Lens Coupons.