Enjoy 5% OFF + FREE shipping on orders $49+! Use Code: 202512AK5

Quest 3 Lens Inserts Guide: RX, Fit & Install
This page is a fit, RX range and installation guide. If you are ready to order, go to the Quest 3 prescription lenses product page.
Get clear, comfortable VR without glasses. This guide explains Quest 3 prescription lenses—RX ranges, 3 vs 3S fit, and step-by-step magnetic install with care tips.
TL;DR — 60-Second Choosing Guide
Custom RX inserts
Best for moderate/high myopia or astigmatism; sharpest clarity & comfort
Adjustable non-RX
OK for mild blur and shared headsets; does NOT correct astigmatism
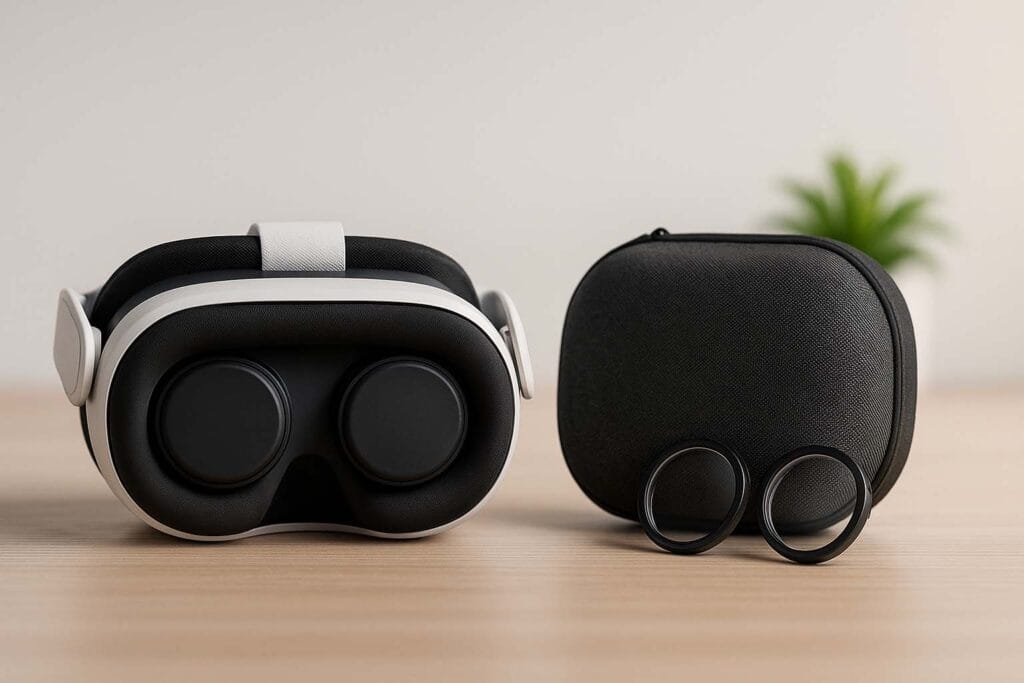
Lens cap + hard case
Scratch & travel safety; storage only, remove before play
Quest 3 vs 3S Fit & Accessories Matrix
| Item | Quest 3 | Quest 3S | Notes |
|---|---|---|---|
| RX lens inserts | ✅ Requires Quest 3 base | ✅ Requires 3S-specific base | Not interchangeable |
| Lens cap (Model A) | ✅ | ✅ | RX-ready cap; gentle-place test recommended |
| Lens cap (Model B) | ⚠️ | ⚠️ | May touch if film is thick |
| Protective film | ✅ | ✅ | Apply film first, then snap RX |
| Facial interface (X/Y) | ✅ | ✅ | Airflow impacts fog; see Anti-fog Combos |
Clean → gently place the RX insert (no press) → fit cap/film. If you feel contact or resistance, it’s not compatible.
RX Specs & Boundaries
SPH
-18.00 ~ +18.00
CYL
-8.00 ~ +8.00
AXIS
0 ~ 180
PD
Input 0 – 180mm
recommended for best results: 58-72mm
Indices
1.56 / 1.60 / 1.67
Coatings
Hardcoat · Multi-layer AR
Hydrophobic & oleophobic ·Anti-static
Not recommended to order
Cases beyond the listed ranges, extreme PD outliers, or ocular conditions -please contact support for evaluation. For high refractive error (lsPHl 28D or |CYL| ≥ 3D), we recommend 1.67 index for better thinness and edge performance.
Privacy & lead time
Preseriution & privacy: RX data is used only to fulfil vour order: deletion on reauest after shioment, Lead time: check the current Shipping page for processing and delivery estimates.
Install & IPD — 5-Step Setup
5 Steps
1) Clean native lenses (dry microfiber, center-out; NO alcohol).
2) Align and seat the magnetic base gently.
3) Lower RX inserts; let magnets snap — no force.
4) Set your usual IPD; check edge clarity.
5) Remove: pinch edges & lift; don’t pry.
Troubleshooting
Blur in center
Re-seat the insert → clean both sides of lenses → confirm your IPD (try ±1 step).
Edge smear
Adjust headset height/strap; make sure the insert is fully seated; flatten any film; high CYL may need 1.61/1.67 index.
Fog within minutes
Use a breathable facial interface, pre-warm 2–3 min, add room airflow/fan; avoid thick shells that block vents.
Ghosting / reflections
Clean surfaces; smooth film wrinkles; reduce in-game brightness 5–10%; avoid strong back-light in the room.
Scratch risk / debris
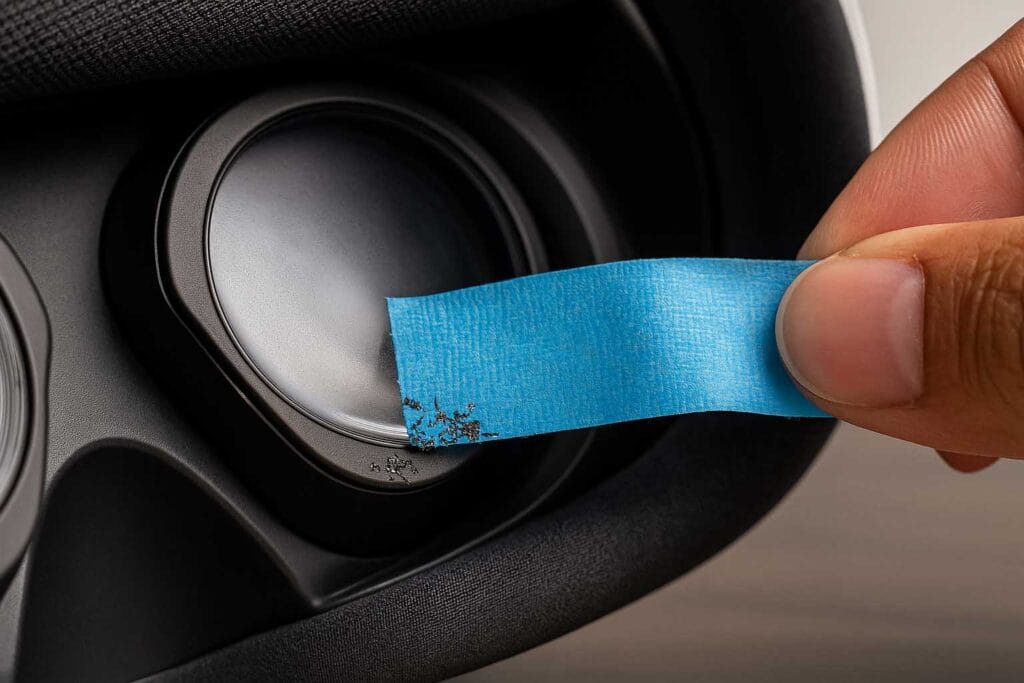
Inspect magnets; lift micro-debris with painter’s tape; never press hard on the optics.
✅ Inserts fully seated — no wobble and sit flush.
✅ After setting IPD, edge text looks sharp.
✅ Lens cap / film passes the gentle-place clearance test.
Clearance Lab — Caps/Films + RX Inserts
RX lens inserts
Q3 ✅
3S ✅Lens cap (Model A)
Q3 ✅
3S ✅Lens cap (Model B)
Q3 ⚠️
3S ⚠️Protective film
Q3 ✅
3S ✅Facial interface (X/Y)
Q3 ✅
3S ✅Clearance quick-test
Clean → gently place RX insert (no press) → fit cap/film. Any contact or resistance = not compatible.
FOV & Clarity Bench — Method & Results
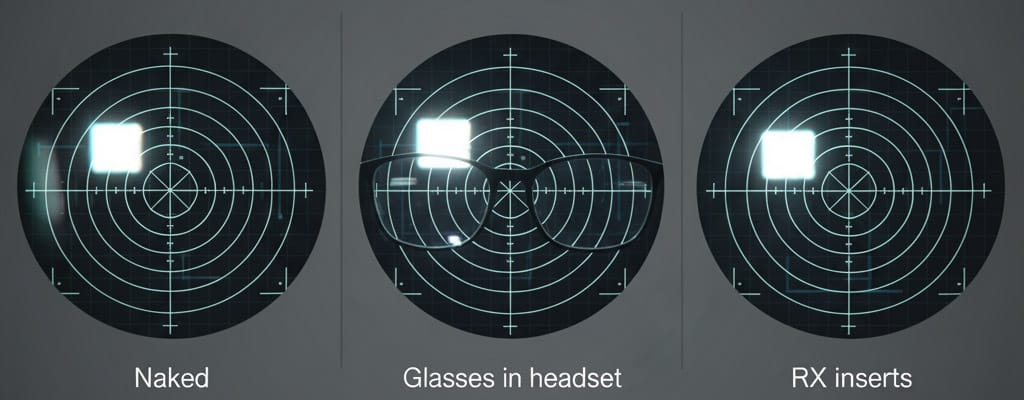
FOV and clarity comparison: naked vs glasses vs RX inserts
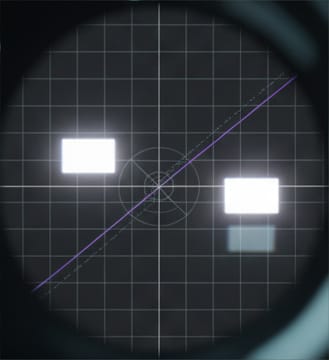
Center 100% crop
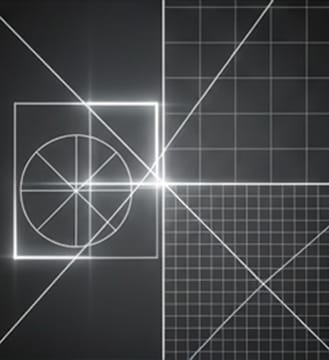
Edge 100% crop
Dark scene glare/ghosting
Anti-fog Combos
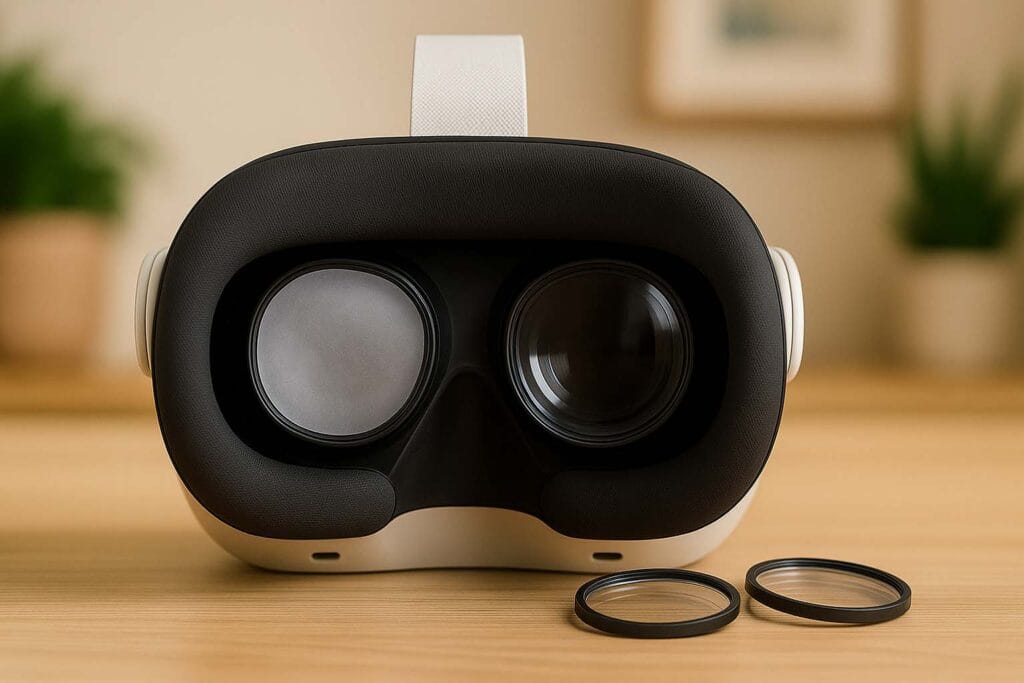
🌬
Daily Play — RX + breathable interface + 2–3 min warm-up
Reduce temperature delta before play; fog drops dramatically.
🏃
Workouts — RX + ventilated face pad + light airflow
Use a small desk fan or natural airflow; avoid thick shells blocking vents.
⛔
Don’t — full silicone wraps during play / alcohol on optics
Full wraps trap heat and moisture; alcohol damages coatings.
Wearing the headset on your forehead for 1–2 minutes before starting your session can help warm up the lenses and significantly reduce fogging.
Magnet Safety & Micro-debris
15-second check before play: shine a bright light on magnetic rings and RX bases.If you see glitter-like specks, lift with painter’s tape (sticky side out). Never rub across the magnet.
🧲
Inspect
Look for tiny metallic dust around the rings; they can scratch optics when snapping inserts.
🧻
Lift, don’t wipe
Reduce temperature delta before play; fog drops dramatically.painter’s tape; dab outward to pick up particles.
🌬
Blow safely
Use a handheld air bladder. Avoid using high-pressure canned air, as it can blow debris under the rim.
🧼
Remove to clean
Take inserts off the headset; pinch edges to lift, don’t slide across the lens.
🚫
Keep away from
Do not store near steel shavings, magnetic trays, or abrasive dust; recheck after each trip.
Signs of debris: Light, circular micro-scratches, or a rustling sound when the liner is engaged.
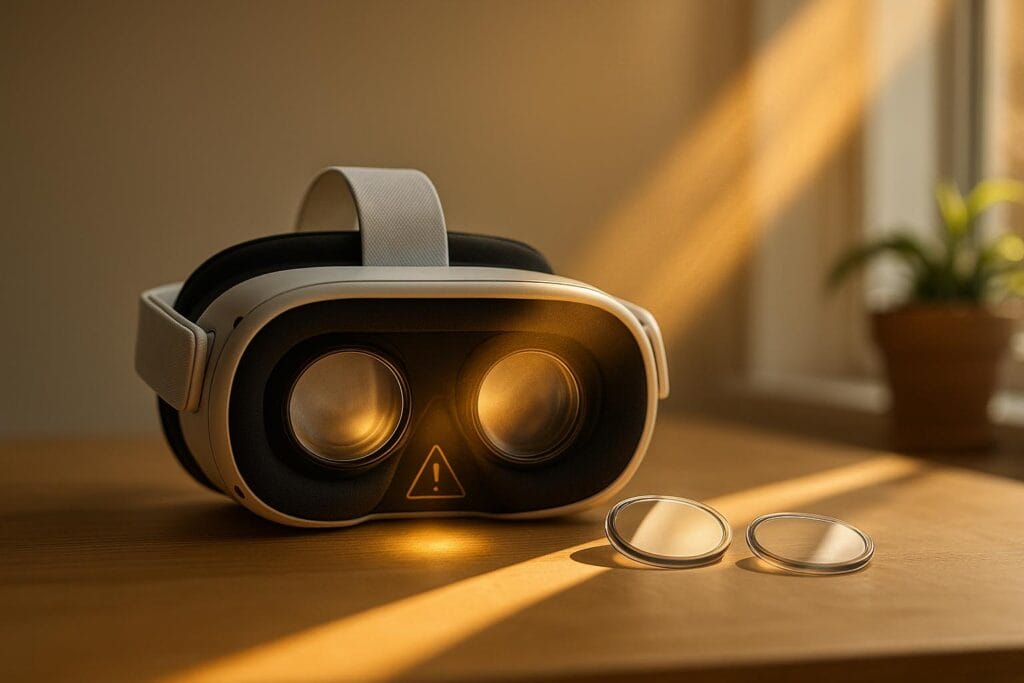
Care & Sun-heat SOP
| Topic | SOP |
|---|---|
| Daily storage |
|
| Sunlight risk |
|
| Heat & transport |
Temperature change can cause condensation; acclimation reduces fogging and corrosion risk. |
| Lens cleaning |
|
| Face interface |
|
| Weekly check |
A gritty click when snapping inserts or faint circular scratches = debris; clean before use. |
Remake & Return Matrix
| Scenario | Remake | Return | Cost | Shipping | Notes |
|---|---|---|---|---|---|
| Manufacturing defect | Contact support | Check policy | Confirm first | Confirm shipping costs with support. | Provide photos/videos; keep the packaging. |
| RX mismatch (our transcription error) | Contact support | Check policy | Confirm first | Confirm shipping costs with support. | Send the original prescription and order details for review. |
| New prescription (RX update) | Ask about options | Check policy | Ask support for current pricing | Confirm shipping costs before ordering. | Send the updated prescription before ordering new lenses. |
| Wrong model/base ordered (Q3 ↔ 3S) | Ask about options | Check policy | Ask support about available options | Confirm shipping costs with support. | Confirm the model ordered and ask which options are available. |
| Transit damage | Contact support | Check policy | Confirm first | Contact support about the delivery issue. | Email support with photos of the outer box and inner packing. |
| Change of mind (no-fault return) | Ask support | Check policy | See the current Refund Policy | Confirm shipping costs before returning | Check the Refund Policy for the conditions that apply to your lenses. |
How to request
1) Prepare your order ID, prescription details and photos of the issue → 2) Email info@annkutvr.com → 3) Ask which options and costs apply to your order → 4) Follow support’s instructions before sending anything back.
Fine print
Custom prescription lenses and non-prescription (plano) lenses have different return conditions. Check the Refund Policy and contact support about your order before arranging a return.
FAQ — Quest 3 Prescription Lenses
Will these affect FOV?
Low-profile design keeps FOV close to glasses. Very thick films used together may reduce FOV slightly—see our Bench results.
Can I use a lens cap or film with RX?
Yes with clearance ≥ 1.7 mm. Do the gentle-place test; if you feel contact, switch to an RX-ready cap.
Do you support astigmatism?
Yes — up to CYL ±8.00 with any AXIS (0–180°). See the RX table.
I don’t know my PD.
Use a phone ruler app or ask an optician; for large discrepancies, get a professional measurement.
How do I avoid scratches?
Clean before install; tape-lift micro-debris around magnets; never press inserts hard.
Shipping & returns?
Check the current Shipping page for processing and delivery estimates, and the Refund Policy for return conditions. Contact support about your order before arranging a return.
Ready to See Clearly?
Check current shipping and return policies before ordering · Snap-fit install